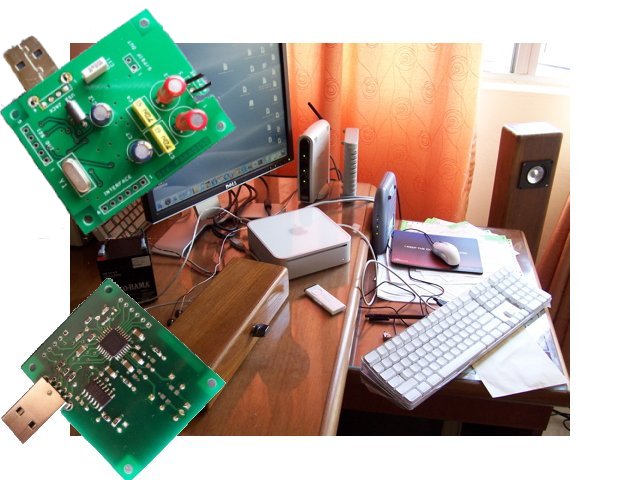

Here's a very simple USB convertor. Plug this to your USB port, and all your music signal will go through it. No programming needed, no soundcard necessary. Just plug and play.
The star here is PCM2706. It's a pretty cool chip that could do three functions. It could be a USB headphone amp, it could output SPDIF data and also I2S data.
I played with it, and unfortunately the internal DAC's output is already over-sampled and kind of... sucks. Okay, okay, that's too strong a word but if you are bitten by the Non-Oversampling magic, conventional DAC (meaning those oversampled types) really turn you off. What's the magic word again? As Monica said it herself, "makes me puke"! Ha ha!
So instead, i'll offer her as USB Convertor instead. Takes in USB and outputs either SPDIF or I2S. Headphone amp circuitry components will not be offered.
Also, will be offering as a kit here. Don't worry, I'll make it simple for you. I'll solder in the 2 chips instead, so you just have to solder in those little surface mounted resistors/capacitors.
Afraid of SMD? Don't worry! I'll show you in a video how to solder SMD. Sorry, the clips aren't very clear as I'm really an amateur here. I'm really better in front of the camera. Also, I kept my mouth shut so as not to distract you from viewing how to solder SMD. You know I'm quite a chatterbox...
|
This is how you solder SMD. Steal, beg or borrow a pair of tweezers (or very tiny fingers). Apply a little solder to end pad. Then place the component using tweezers. Melt the solder at this end so that the solder will flow and "hold" the component. We are using the solder as a temporary "glue" here. Solder the other end of the component. Place soldering tip on BOTH pad and component. Re-orientate the PCB to do this easier, like what I did in the video. Once you feed solder, it'll just flow like magic. Redo the first joint. Tada! |
Components
R8, R9 22ohm. SMD resistor "220"
R7, R14 1.6kohm. SMD resistor "162"
R15 1Mohm. SMD resistor "105"
R10 360ohm. SMD resistor "361"
R11 100ohm. SMD resistor "1000"
C5, C6, C8, C9, C10 1uF. SMD capacitor
C13, C14 10pF. SMD capacitor
C7, C12 47uF "Low ESR" electroltic capacitor
C11 100nF metallized polypropylene
L1 Ferrite bead.
Y1 12MHz crystal
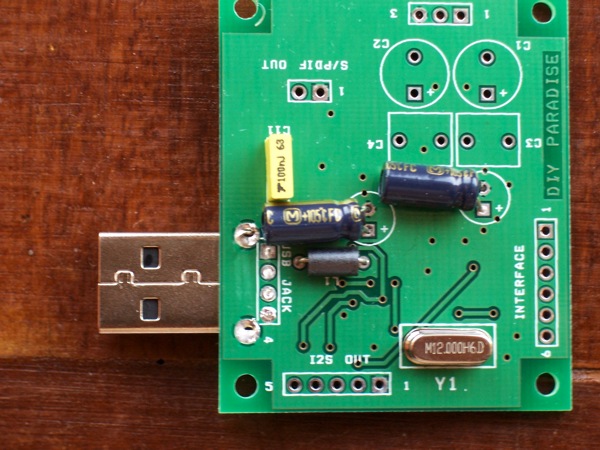
And of course, the USB jack. Note the placement in photos above.
This is all you need! Solder SMD components FIRST, then only the Thru-Hole components.
To configure for SPDIF output, short R12. To configure for I2Ss output, short R16.
I built one in 15 minutes, then brought to a friend's place to test. We copied a track from a disc to lossless WAV format. Then played through his notebook and compared to his DVD player. The same system was used except the source where we are comparing DVD player to notebook+USBconvertor combo. Boy, the latter is definitely more organic!
For a limited time only (feel free to question my sanity), 10 such USB convertor kits will be offered at USD25 only.
Order from http://store.diyparadise.com.
Your assembled USB Convertor should look like this. Note orientation ofo USB jack. Note that I shorted R12 for SPDIF output. If you desire I2S output, short R16.
If you desire a slim profile, you could lay down the 47uF caps like this.