Oh yeah! I’m enjoying computer audio these days, and why you should enjoy this too!
Computer Audio is Soooooo Much Fun!
Boy, I have been having so much fun with computer audio, or do you prefer the term “PC Audio”? Playing music through a PC is addictive. We’ll look at the hardware side first before going to the software end.
I admit I have been late to this “PC audio party” but as they say “better late than never”! And I’m glad I joined the party! The sonics has so much potential compared to conventional CD playback and most folks believe this is mainly due to much reduced jitter when playing through PC. You see, with conventional CD playback, we almost can’t escape from using digital output (SPDIF) format. The Achilles’ heel of SPDIF has to be the way the critical Bit Clock is recovered from it.
This is the work of the digital receiver (like CS8412, CS8414 etc) and we are limited by how well it recovers this clock signal. CS8412 for example has jitter specifications of Bit Clock of 200ps. Not very impressive! Monica’s asynchronous reclocking (as shown the light by Kunosoki san more than 20 years ago) ameliorates this but it’s no way a solution either.
With computer audio, let’s say this together. “To hell with SPDIF!” Ha ha!
Back to hardware, the Squeezebox is a little computer gadget that appeals to geeks like you and me. It streams (wired or wirelessly) audio files stored on your PC to your hifi system. Of course, if you do it wirelessly, you could have your noisy PC in one room and your hifi set in another. Wonderful!
 |
To be honest with you, I know nuts about playing music through a computer but ever since I got a Squeezebox, have to start a crash course on it! |
Fancy having a dig at DIYing your own Squeezebox? Well Ole Schüsseler here shows you how to do it with his Linux based Audio Appliance.
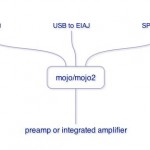
So what if you don’t want a player like the Squeezebox and prefer to play from your PC? Sure, no problem! Back then you’ll need at least, a good quality soundcard, but nowadays, there are USB DACs to consider. Yup, takes USB data and converts to analog signals.
The Wonderful World of USB DACs
You see, operating systems (at least for Windows and Macs) are smart enough to know that when they detect a USB DAC, all audio signal will be routed through there. Of course, you could control not to do this as well, but unless your soundcard has better sonics, it’s good to consider USB DACs.
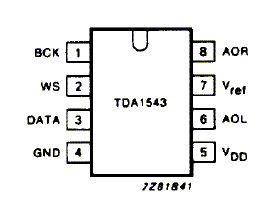
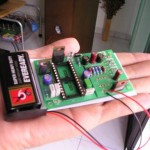
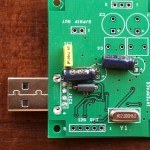
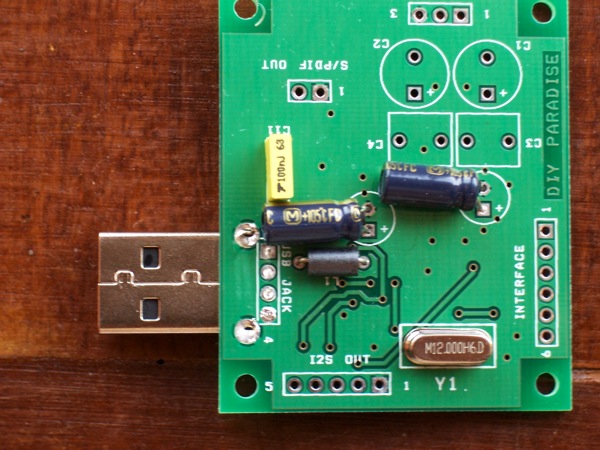
USB DACs like Texas Instrument’s PCM2706 (used in My USB Convertor) not only functions as a USB DAC but also as a headphone amp, USB-SPDIF convertor as well as USB-I2S convertor. The last function is the most interesting as once converted to I2S, we could hook up many DAC chips directly. DAC chips like TDA1543, TDA1541… etc. Like this:

If you want to try this yourself with my USB Convertor,
| Pinout of I2S on my USB Convertor pin 1 is GND pin 2 is Word Select leave pin 3 blank pin 4 i Bit Clock pin 5 is Data |
 |
I guess you know which pins to connect to which pins right? Told you it’s very easy! Power your DAC chip separately though. Don’t be cheap and use the USB’s 5V supply. If you do so, don’t complain if it doesn’t sound good ok?
If you are ooo-laa-laa over sonics of Monica, then this isn’t so simple. Monica’s TDA1545 chip uses EIAJ format instead of I2S. The main difference between both signal formats is the where upon the DATA signal is sent. I2S sends the DATA signal at the beginning of the Word Select signal but EIAJ sends at the end.
No, please don’t ask me why can’t those folks sit down and agree on one format. I have no idea. But look at SPDIF. The very few instances where all folks concerned agreed on a format but it turned out to be a lousy format. Oh well…
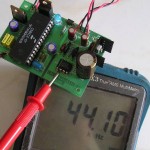
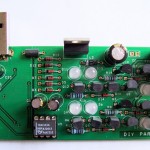
Anyway, I tested and built a pure USB Monica, taking in USB signal to I2S then converted to EIAJ then fed to TDA1545. Give us a few more weeks and you can jive with her soon! [USB Monica is ready!]
Squeezing more juice out of the Squeezebox
Back to the Squeezebox. I’m sure many will be wondering how does the Squeezebox compare to audiophile CD players? Well, stock player is nothing to shout about however never ever under-estimate the power of DIY! I’ll share with you 2 mods I tried here.
The very first upgrade every Squeezebox owner should do is to replace the stock power supply adaptor with a beefier unit. One capable of at least 1A (2A is better). Some folks prefer linear supplies while some prefer switching. My preference is switching power supplies but don’t let me influence you. Go try yourself. Just make sure it outputs 5V REGULATED and you’ll be fine. Oh yeah, pay attention to polarity too since we are dealing with DC voltages here.
For the adventurous diyers, the first mod is considered too easy, no fun at all. The second mod, you need to pull out your Torx T10 screwdriver and dismantle the Squeezebox unit.
This is a relatively easy tweak. Easy to understand and easy to implement if you are good with soldering surface mount components. If your soldering skills isn’t up to par, then forget it. Find someone to do this for you. Remember as with all mods, you can kiss your warranty goodbye so if you are not up to it, don’t try to be cheap here. It ain’t worth it brudder.
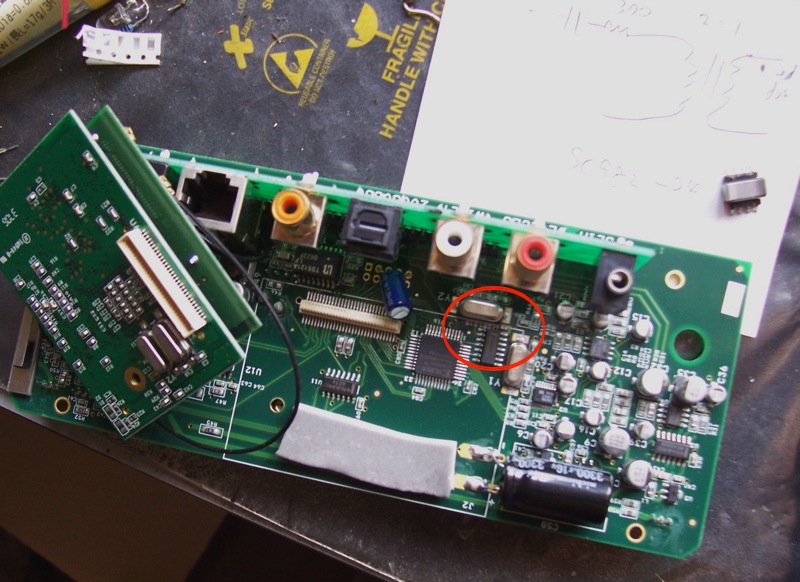
What we want to do here is modify the SPDIF circuitry. If you trace the digital output RCA socket, you’ll find it ends at pin 6 of chip U15. This is just a 7404 invertor chip. What we have here is that the invertor output goes through a coupling cap then 2 resistors to ground. The resistors form a voltage divider to scale down the output of the invertor from TTL logic level to SPDIF level. If you find all this Greek, don’t worry.
By right, there isn’t a lot of problems with this circuit but due to the very noisy environment of the Squeezebox (what more with a wireless card nearby), we don’t want all the noise to be carried all the way through the digital output (via SPDIF format) to your DAC and the rest of your audio chain. And the easiest way to accomplish this is to use a digital pulse transformer.
The digital pulse transformer accomplishes 4 things.
First it breaks the ground. The SPDIF signal ground is no longer the Squeezebox unit’s ground. This is possible due to usage of transformers.
Secondly, I believe the trans has better driving capability then just a the invertor and voltage divider circuitry.
Third, with a trans, we could benefit from its common mode rejection capability. Meaning, it rejects noise common to both signal and ground. Like in a noisy environment inside the Squeezebox.
Lastly, we could better match the impedance output impedance with the usage of suitable trans.
So first remove L8 and L9. Then desolder the R67 107ohm resistor. One end of R67 goes to ground while the other end is tied to R66. There’s a mistake in above diagram though. Primary (red dot, pin 1-4) has ratio of 1 while secondary (pin 5-8) has ratio of 2. So you should wire pins 5-8 facing the 7404 invertor chip and the other end (pin 1-4) facing output RCA socket. To anchor the trans, I soldered one leg (pin 8) to junction between 107 and 245ohm resistor. Thus pin 5 goes to ground. Pin 1 (red wire) goes to SPDIF output. Pin 4 – SPDIF ground. (If you are fussy, replace 245ohm resistor with 300ohm for even more accurate 75ohm output impedance.)

Now you know why I’m enjoying computer audio?
Moving on to the Software side

No Responses